Mobile Printing
The library has a mobile printing service you can use from your own computer or mobile device. You can send your files to the Library printer before you even arrive at your local branch.
You can print emails, documents, photos, boarding passes, and more. Print directly from a Library computer or use your smartphone, tablet, home computer, or laptop to send a mobile print request.
Printing Costs
- Black and White = $0.15 per page
- Color = $0.25 per page
PLEASE NOTE: Personal paper cannot be used in Library printers/copiers.
Print from a computer/laptop.
1. Click "Select Files" to choose the file(s) you want to print. You can also drag and drop files into the field. Multiple files can be selected, but larger files should be uploaded one at a time. Please note that any password protected documents cannot be processed.
3. Each file will appear in a list. Click the drop-down arrow to the right of each file name to make selections for that file. Selections include number of copies, layout options, color or grayscale, and more.
3. You will be shown the estimated print cost.
4. Fill out your user information. The first field is the print job name. You can name the print job your own name, enter your Library card number, or name it whatever you want. The print job name can be anything as long as there are NO spaces. You need to remember, or write down, the print job name because you will be required to enter it when you retrieve your print job at the Library. Click the "Submit" button.
After you click "Submit," you have 2 hours to come and pick up your prints.
5. Complete the payment to release the prints.
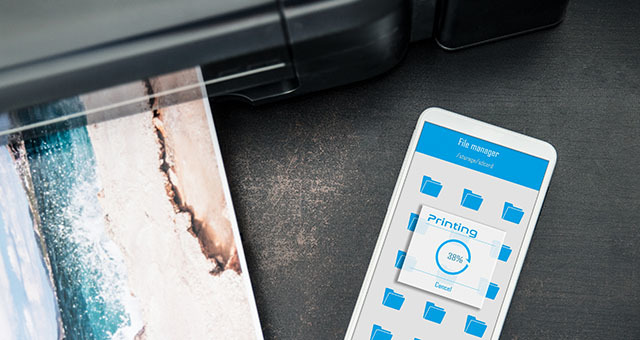
Print from a mobile app.
You can also print from a mobile device using the ePRINTit SaaS app.
Note: If your location settings are turned off, you will have to allow permissions on your device.
Print an email message or attachment.
If you want to print an email message or an attachment, forward the email to one of our designated printing email addresses. Forward your email to the appropriate email below, based on whether you need a black and white or color print.
- Black and White Printer: bwprinter@indypl.org
- Color Printer: colorprinter@indypl.org
You will receive an email with a Release Code in it. When you arrive at the printing kiosk, you will need to enter this code to retrieve and release your print(s).
Need help? Ask a Library staff member at any of our locations or call, text or email Ask-a-Librarian.
Mobile Printing FAQ
How can I print a boarding pass?
Boarding passes are printed from the airline's web page. If the airline allows you to save a copy of the boarding pass as a .pdf file, save the .pdf file and then submit the .pdf to print at one of our locations.
Can I bring personal paper to use in Library printers?
Personal paper cannot be used in Library printers/copiers.